Inventor is a program that is used by people in all sorts of careers all around to world to design stuff and is used to create stuff with the 3D printers. It's a desktop program that can run on multiple different platforms. You can create really anything you want in inventor. One of the best parts of this program is how creative you can be, you can make anything from a small widget to a scale model of a building.
|
|


This is widget number 6 that I used inventor to create. I chose this widget because it is one of the most interesting ones and a more challenging one. I thought that this would be an interesting one to 3D print.


Step by Step
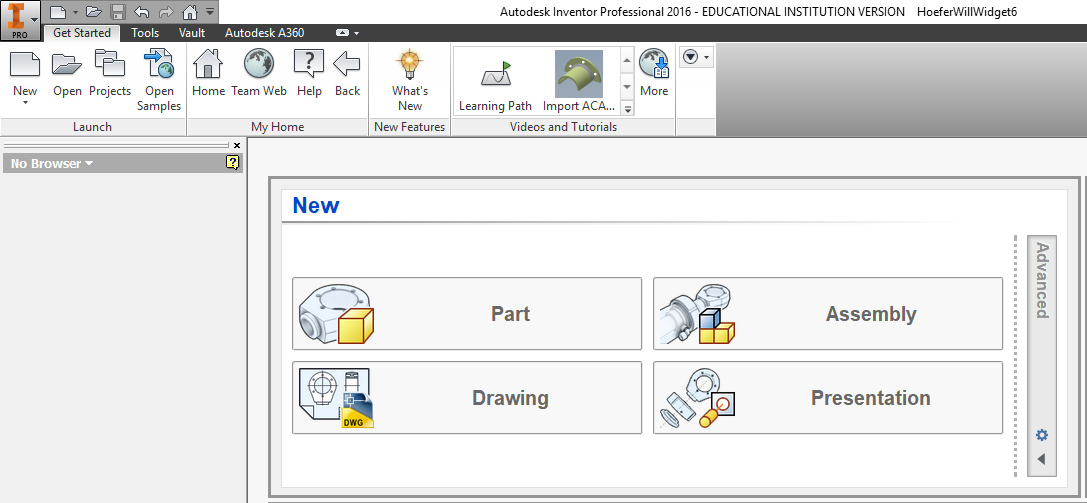
1. Open a new part file by clicking on the inventor logo in the top left corner or, by clicking part in the middle of your screen.
|
2. Start a 2D sketch on the XY plane.

3.Sketch out the side of the widget and dimension it.

4. Then you should extrude the 2D sketch.

5. Start a 2D sketch on the top of the widget and dimension it.

6. Extrude that sketch so it cuts into the top portion not the bottom.

7. Start a 2D sketch on the base of the widget.

8. Extrude the sketch so that it makes a hole in the center and cuts off the corners.

3D Printing
1. Save your inventor file as an STL and then open it in the 3D printing software, makerbot.

2. After you have opened the file in makerbot use the rotate tool to lay it flat. then use the rotate tool to change the orientation so you don't have to use supports. After you have done that, take the scale tool and scale it by 1000%. Make sure that the conversion mm to inches.

3. Click settings in the makerbot software. Make sure that quality is standard. You do not need to use supports for this project. Make sure that under extruder type is smart extruder+. The extruder temperature is 215 C.

4. Start 3D printing by copying it to a flash drive and inserting it into the 3D printer. Scroll to the USB option to chose your file. Then make sure that everything is set right and hit start printing. Stay with it until it actually starts printing.

5. After it's done printing take off the raft and then you've got your 3D printed widget.

What I learned: Before I used inventor in this class I had used it before in 8th grade. I knew a lot of stuff about the program inventor but I never knew anything about the 3D printing process. This helped me learn more about the program that can change the future. I learned that the 3D printer prints in layers and that if you have something sticking out to the side of the widget you would need supports to hold it up. The most important thing I learned about 3D printing is what kind of software the 3D printer uses.
